


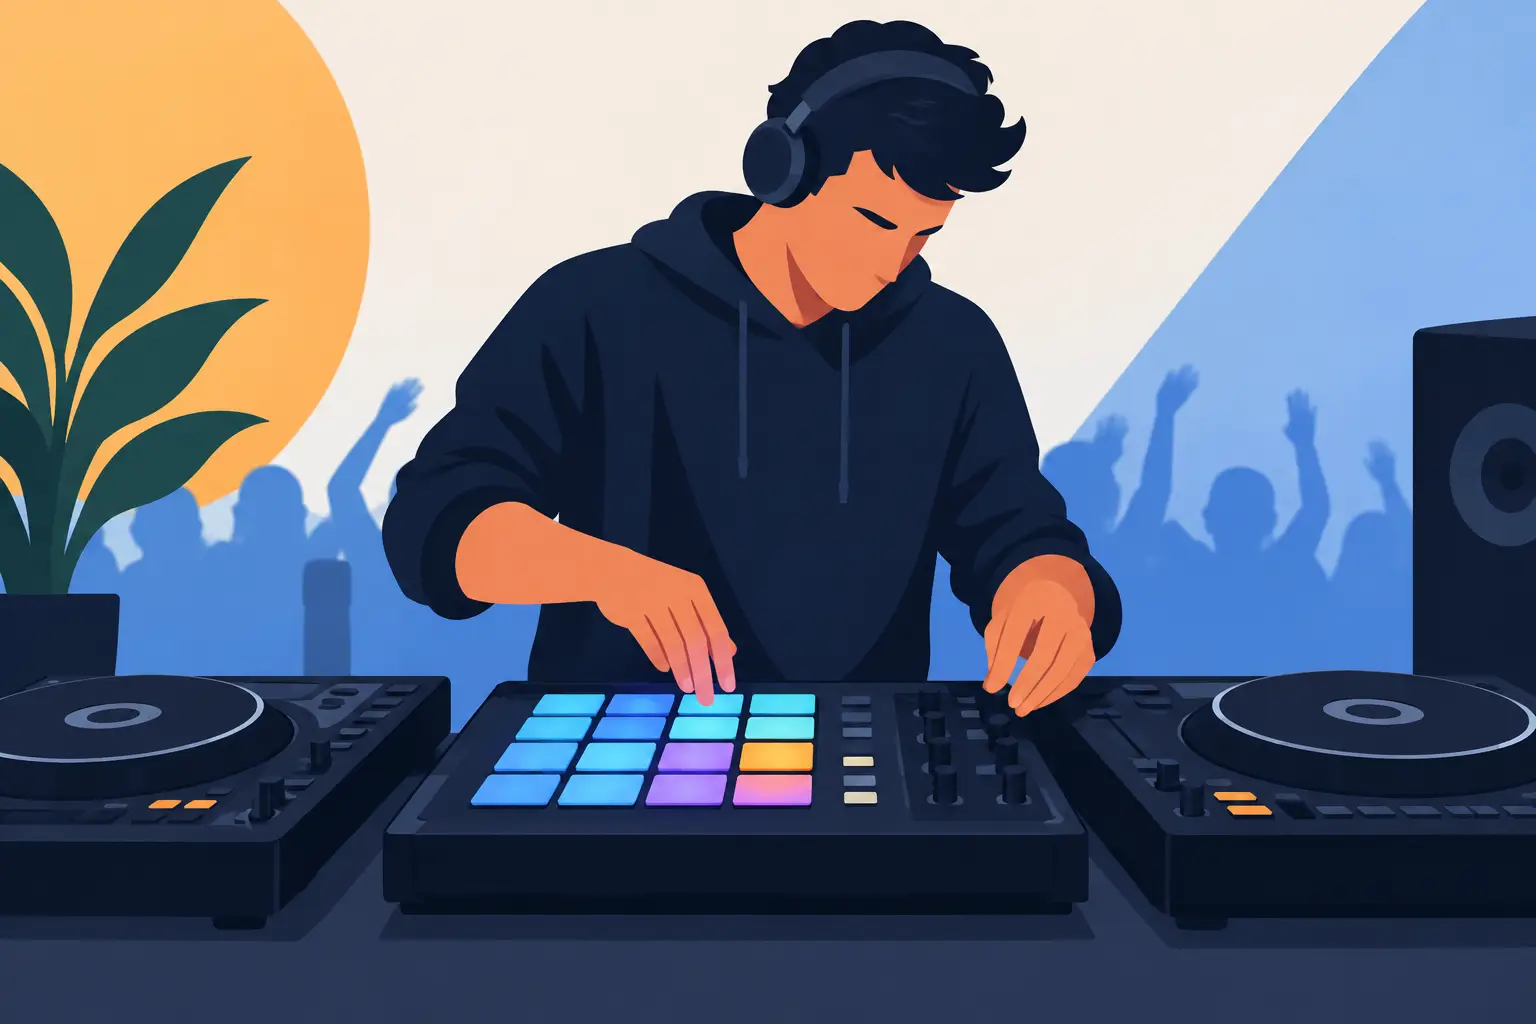
A well-timed vocal hit can turn a standard transition into a moment the room remembers. A short drum fill can rescue a breakdown that feels too empty. That is the real answer to how to use DJ sampler tools: not by firing random sounds over every track, but by treating samples as performance instruments with a job to do.
A DJ sampler gives you instant access to audio clips from pads or buttons in your software and controller. Those clips might be one-shot effects, vocal phrases, drum loops, musical riffs, scratches, or full intro sequences. Used with control, they add personality, energy, and structure to a set without interrupting the music already playing.
How to Use DJ Sampler Pads With Purpose
Before loading dozens of sounds, decide what your sampler needs to accomplish in your set. The strongest sample banks are built around moments you actually encounter: introducing yourself, building tension before a drop, filling a short gap, transitioning between genres, or signaling a major switch in energy.
Start with a compact bank you can learn by feel. Four to eight reliable samples will take you further than 32 clips you have to search for mid-set. Give every pad a clear role. For example, one may hold a clean airhorn or impact, another a recognizable vocal phrase, another a percussion loop, and another a utility sound such as a crowd cheer or riser.
The goal is not to prove that you own effects. The goal is to make the next musical moment hit harder.
One-shots: Fast accents that support the mix
One-shots are short sounds that play once when you trigger them. Think vocal tags, sirens, drum hits, laser effects, scratches, and transition impacts. They are ideal when you need a quick punctuation mark without changing the rhythm of the track.
Use a one-shot at the end of a phrase, before a chorus, or on the first beat of a drop. Timing matters more than volume. If you fire an impact half a beat late, it sounds accidental. Trigger it on the downbeat and it feels intentional.
Keep the level lower than you think. A sample should usually sit inside the energy of the track, not flatten it. If a vocal tag competes with the song’s lead vocal, wait for an instrumental section or use it during the outgoing track’s final bar.
Loops: Build momentum without losing the groove
Loop samples repeat continuously and can function like an extra deck. A four-beat percussion loop can add drive to a sparse track. An eight-bar vocal loop can establish a mood while you prepare the next song. A melodic loop can create a live remix, provided it is in key and does not fight the original arrangement.
The first rule with loops is beat alignment. Make sure the sample starts on the beat and matches the tempo of the track. If the sample is not designed to follow tempo, it can drift or sound rushed as your BPM changes. In VirtualDJ, a properly prepared loop can sync to the master tempo, giving you more freedom to move between tracks and genres.
The second rule is arrangement awareness. A busy song rarely needs another full drum loop. Bring percussion loops into breakdowns, intros, and bridges where they add movement without creating clutter. Then mute or stop the loop cleanly before the next section gets crowded.
Prepare Your Sample Bank Before the Crowd Arrives
Great sampler performance starts before the first track plays. Audition every clip with headphones and label it clearly. “Vocal 3” is not useful when the dance floor is waiting. Name it by function: “Build Up Riser,” “Clean Drum Fill,” “Throwback Shout,” or “Hip-Hop Horn.”
Set cue points at the exact place you want the sample to begin. Trim silence from the front of one-shots so the sound lands immediately when you hit the pad. For loops, confirm that the start and end points cycle cleanly. A loop with a click, a gap, or an off-beat ending will expose itself quickly through a club system.
It also pays to organize samples by the type of event you play. A wedding cocktail hour, an open-format club night, a Latin set, and a karaoke show demand different sounds. Keep a core bank that works anywhere, then create event-specific banks that match the audience and musical direction.
For a dependable starter setup, build around these four categories:
- Transition effects, including risers, impacts, sweeps, and drum fills
- Short vocal phrases that fit your personality and the crowd
- Beat-synced percussion or rhythm loops for building energy
- Musical hooks or recognizable throwbacks for live remix moments
This approach keeps your sampler useful instead of turning it into a sound-effects drawer.
Match Samples to Phrases, Not Random Moments
Most dance music is structured in phrases of 8, 16, or 32 beats. Your samples will sound far more professional when they respect that structure. Trigger a riser at the start of an eight-bar build. Drop an impact on beat one of a new phrase. Introduce a loop at the beginning of a breakdown, then remove it at the next section change.
Listening for phrasing also helps you avoid a common mistake: filling every second of silence. Silence can create anticipation. If the track strips down before a drop, let the crowd feel that tension. A single, well-placed vocal chop may be all it needs.
Try this in practice. Load a familiar track and count four groups of eight beats during its intro. Start a percussion loop exactly at the first beat of the next phrase. Let it run for 16 beats, then stop it on the next phrase change. Record the result and listen back. The difference between random triggering and phrase-based triggering becomes obvious fast.
Control Volume, EQ, and Effects Like a Performer
A sampler is part of your mix, so it needs mix control. Set a safe default sampler volume before your set. Test it against your loudest tracks, not just in headphones. A sound that feels subtle in cue can become harsh on a large PA.
EQ can make a sample fit better. If a vocal sample sounds muddy, reduce some low frequencies. If a percussion loop is fighting the kick drum, cut its low end and let the main track own the bass. If an impact disappears in a dense chorus, a slight level boost may help, but avoid pushing it into distortion.
Effects can expand simple samples, but restraint wins. Echo is especially useful for ending a vocal phrase or letting a one-shot trail into a transition. Filters can help bring loops in gradually. Reverb can add scale to a sparse breakdown. Use one clear move at a time. Stacking multiple effects on a loud sample often creates a blurry, overprocessed mix.
Use Sampler Banks to Make Transitions More Creative
Sampler pads become powerful when they help solve a transition problem. Say you are moving from a house record at 124 BPM into a hip-hop track at 95 BPM. Instead of forcing a long beatmix, use a transition effect or an echo-out on the outgoing track, trigger a short vocal or impact, then launch the new track with confidence. The sample gives the switch a deliberate frame.
You can also use a loop as a bridge. Start a neutral percussion loop that fits both tracks, gradually reduce the outgoing song, then introduce the incoming track under that loop. Once the new groove is established, remove the bridge. This works particularly well in open-format sets, where bold genre changes are part of the job.
For live remixes, start simple. Combine an instrumental-friendly section of one track with a short vocal hook from another, keeping the key and rhythm in mind. Do not try to layer three unrelated hooks just because the pads are available. One recognizable element, placed at the right time, is often enough to make the mix feel exclusive.
Avoid the Sampler Habits That Empty a Dance Floor
The biggest sampler mistake is overuse. Repeating the same airhorn every transition stops feeling exciting after the third time. Triggering vocals over lyrics makes the music hard to understand. Leaving loops running while you change tracks can create a messy wall of sound.
There is also a difference between a sample that energizes a crowd and one that distracts from the song they came to hear. If a record has a massive chorus or a famous opening, let it breathe. Your skill is shown in the choice to add nothing as much as in the choice to trigger a pad.
Practice recovery moves, too. If you launch the wrong sample, stop it quickly, return to the beat, and keep your body language calm. Most people will forget the mistake if you do not spotlight it. Confidence is part of performance reliability.
Build Muscle Memory, Then Take Risks
Map your most-used samples to the same pad positions every time. Put transition effects in one area, vocals in another, and loops together. Once your hands know where each sound lives, you can focus on reading the room instead of looking down at the screen.
Record short practice sessions and review them honestly. Did the samples improve the transitions? Did they land on phrase changes? Could the crowd still hear the song’s best moments? Those answers will shape a sample bank that sounds like you, not like a preset.
The best sampler routines do not make every track busier. They make the right moments bigger, clearer, and impossible to mistake for anyone else’s set.