


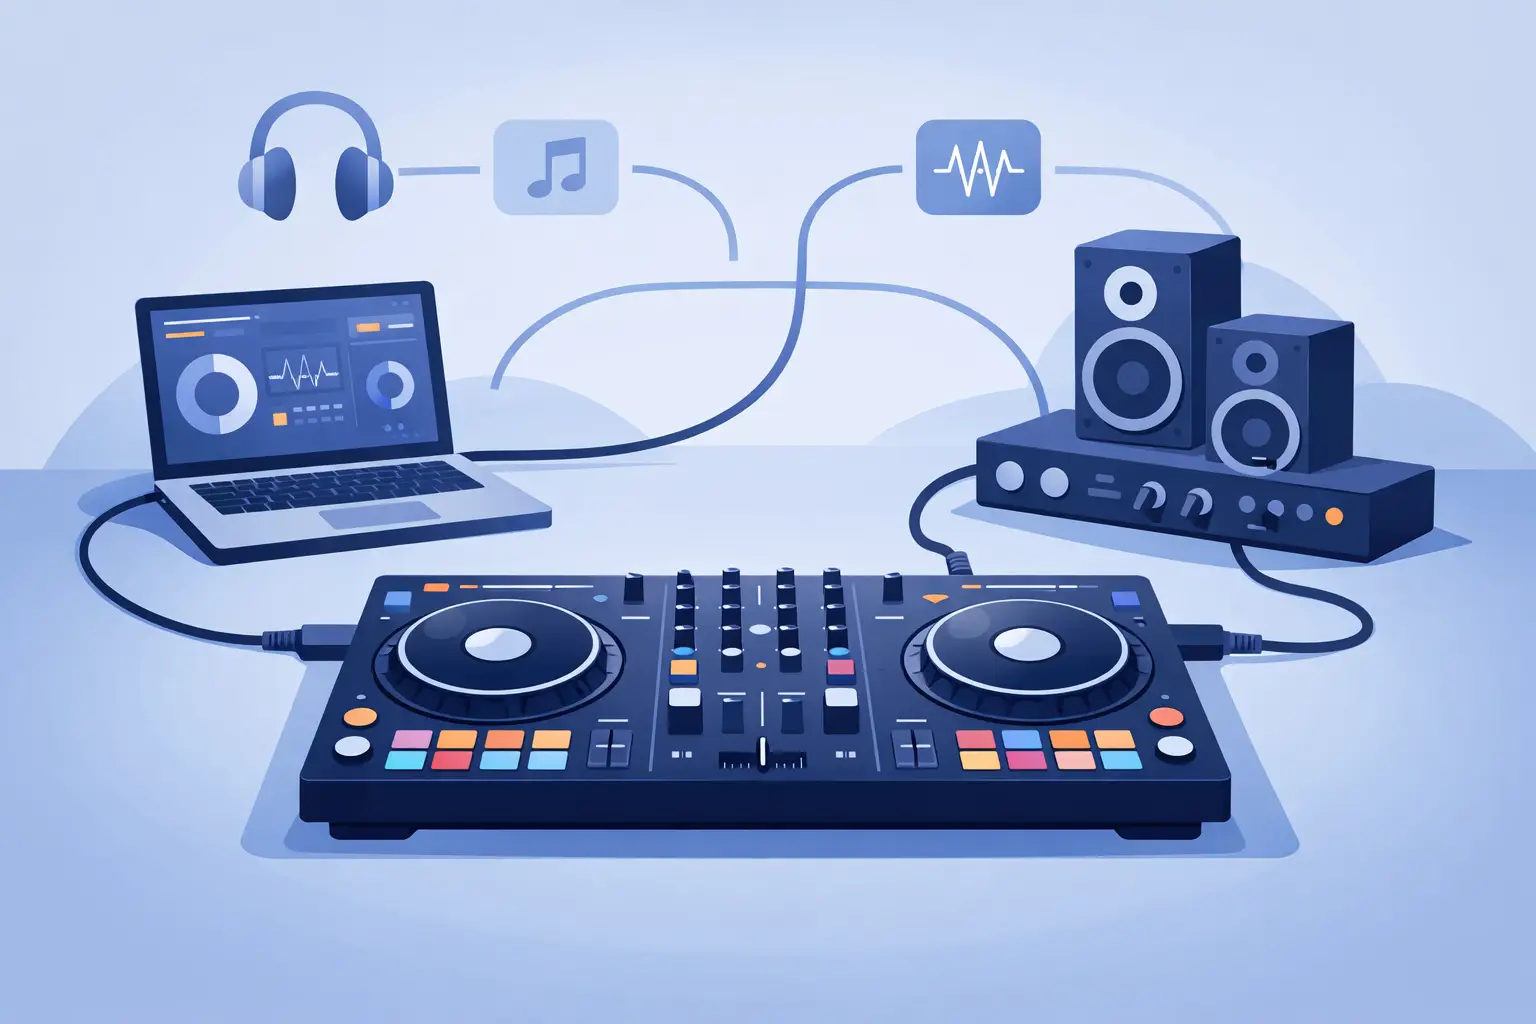
A controller can be plugged in within minutes, but a performance-ready DJ setup takes a little more care. Knowing how to connect DJ controller hardware correctly means your jog wheels respond on cue, your headphones cue the right deck, and the crowd hears a clean, powerful mix instead of laptop audio, hum, or silence.
The good news: most modern controllers are built to get you mixing fast. The key is connecting each part in the right order, setting the correct audio device in your DJ software, and testing your signal path before the first track matters.
What You Need Before You Connect a DJ Controller
Start with the essentials: your DJ controller, a computer, the controller's USB cable, headphones, and powered speakers or a sound system. If you are playing through a venue PA, you may also need the appropriate audio cables or adapters.
Your controller is the command center. It sends control information to the software and, in most cases, handles audio too. That distinction matters. A basic controller may send only MIDI commands, leaving your computer's headphone jack responsible for sound. A more complete controller includes its own sound card, giving you separate outputs for the main speakers and your headphones.
Before connecting anything, check that your computer is charged or connected to power. A DJ set is not the time to discover that your laptop battery drains faster than expected. Close unnecessary apps, disable system notifications, and keep a second USB cable nearby if you have one. USB cables take more punishment than most DJs realize.
How to Connect DJ Controller Hardware Step by Step
First, turn down the master volume on your controller and your speakers. Then connect the controller directly to a USB port on your computer using the supplied cable. Direct is the important word. USB hubs can work, but a low-quality hub can introduce disconnects, power problems, or inconsistent controller response. For a gig, use a direct port whenever possible.
Once connected, turn on the controller if it has a separate power switch or external power supply. Some compact controllers are bus-powered, meaning the USB connection provides everything they need. Larger professional units often require their own power adapter. Use the original adapter or an approved replacement with the correct voltage and amperage.
Next, connect your speakers to the controller's master output. The best connection depends on the equipment you are using. XLR is generally the preferred choice for professional speakers and long cable runs because it is balanced and better at rejecting electrical noise. TRS balanced outputs are also excellent. RCA is common for home speakers, compact monitors, and consumer gear, but it is less ideal over long distances.
Connect your headphones to the controller's headphone output, not the computer. This gives you independent cue control, so you can prepare the next track without sending it to the room. If your controller has both 1/4-inch and 1/8-inch headphone ports, use the one that matches your headphones. Avoid stacking adapters when you can. They are easy to bump loose during a set.
Finally, power on your speakers. Turn them on last, and turn them off first when you are done. That simple habit helps prevent loud pops from reaching your speakers.
Set Up the Controller in Your DJ Software
Open your DJ software after the controller is connected and powered. Many supported controllers are detected automatically. With VirtualDJ, compatible hardware can load with the correct mapping and audio configuration, putting decks, mixer controls, pads, and performance features within reach without a long setup process.
If the controller is not detected immediately, do not assume it is broken. Give your operating system a moment to recognize the device, then check the software's controller or devices area. Confirm that the controller appears as connected and that the selected mapping matches your model.
On Windows, some hardware requires a manufacturer audio driver for the lowest latency and full audio support. Install the current driver before your first serious session, then restart the computer if prompted. On macOS, many controllers operate as class-compliant devices and do not require a separate driver, though the manufacturer's documentation still takes priority.
Your software needs to know where to send sound. Select the controller as the audio device, then assign the master output to the controller's main outputs and the headphone output to its headphone channels. The exact channel numbers vary by model, but the goal never changes: the audience gets the master mix, while you get private cue monitoring.
If you hear the same sound in both your headphones and speakers, your headphone cue assignment is probably incorrect, or the cue/master blend knob is set fully toward master. If the speakers are silent but headphones work, check the master output assignment, master level, speaker volume, and cable connection before changing anything more complicated.
Confirm Your Controls Are Mapped Correctly
Load two tracks and press play on each deck. Move the channel faders, crossfader, EQ knobs, pitch faders, and jog wheels. Then test the cue buttons, play/pause buttons, pads, and loop controls. Every physical action should produce the expected result on screen.
A controller can be detected but mapped incorrectly, especially if you are using an older device, a custom mapping, or a controller with multiple operating modes. If the jog wheels control the wrong deck or a button behaves unexpectedly, check the selected mapping before remapping controls manually. Custom mapping is powerful, but it should be a creative choice, not the first fix for a basic connection issue.
Get Clean Audio From Controller to Speakers
Connection is only half the job. Gain staging is what keeps your mix loud, clear, and free of distortion. Start with the controller's master level low, set your speaker volume to a sensible working position, and bring up the master gradually while a track is playing.
Watch your channel and master meters. Occasional peaks near the top are normal, but constant red means you are clipping. Lower the channel gain first, then rebalance your master level. Turning everything up may feel powerful in a bedroom, but it can turn a club system harsh, muddy, and tiring fast.
If you hear a low hum or buzz, the cause is often a cable, an adapter, or different equipment plugged into separate power sources. Balanced XLR or TRS connections can help. Keep audio cables away from power bricks where possible, and avoid using damaged cables. A clean signal chain is one of the least visible ways to sound more professional.
For a home setup, powered studio monitors are often the simplest route: controller master output to each monitor, then adjust volume carefully. For events, connect to the venue's mixer or PA using the outputs they request. Ask whether they expect XLR, 1/4-inch, or RCA before arriving. Showing up with the right cables is part of being ready to perform.
Test Cueing Before You Start Mixing
Cueing is where new DJs often lose confidence. Put on your headphones, press the cue button for the deck you want to preview, and start that track. You should hear it in your headphones while the audience hears only the master deck.
Use the headphone volume knob to set a comfortable level. Then adjust cue/master mix, sometimes labeled cue/mix, to choose how much of the upcoming track and live master you hear. Some DJs prefer mostly cue. Others want a balanced blend to beatmatch against the track playing in the room. It depends on your technique, your headphones, and the noise level around you.
Practice switching cue buttons quickly. In a live environment, you want to preview the next record, check its starting point, set a loop if needed, and commit to the transition without hunting for controls.
Fix Common DJ Controller Connection Problems
When a controller does not work, isolate the issue instead of changing every setting at once. Start with the physical chain: try another USB port, inspect the cable, reconnect the controller, and restart the DJ software. If that fails, restart the computer with the controller disconnected, then reconnect it after the system is fully running.
No audio usually points to an audio-routing issue, muted speakers, a low master knob, or the wrong output selected in software. Audio crackles or drops out often points to latency settings, an overloaded computer, a weak USB connection, or background applications consuming resources. Raise the audio buffer slightly if you need stability, but remember the trade-off: a larger buffer can make controls feel less immediate.
If your computer sees the controller but the software does not, update the software, driver, or firmware only after checking compatibility for your exact model. Firmware updates can solve real issues, but do not install one five minutes before a gig. Test every update at home first.
Build a Setup You Can Trust
The fastest way to become comfortable with your gear is to connect it the same way every time. Use the same USB port when possible, label your cables, keep a backup cable in your bag, and run a short soundcheck before guests arrive or doors open.
Once your controller, software, headphones, and speakers are talking to each other properly, stop staring at the setup and start using it. A reliable connection gives you the freedom to focus on the moments that make a set memorable: the timing of the drop, the unexpected remix, the clean transition, and the crowd reaction that tells you it landed.