


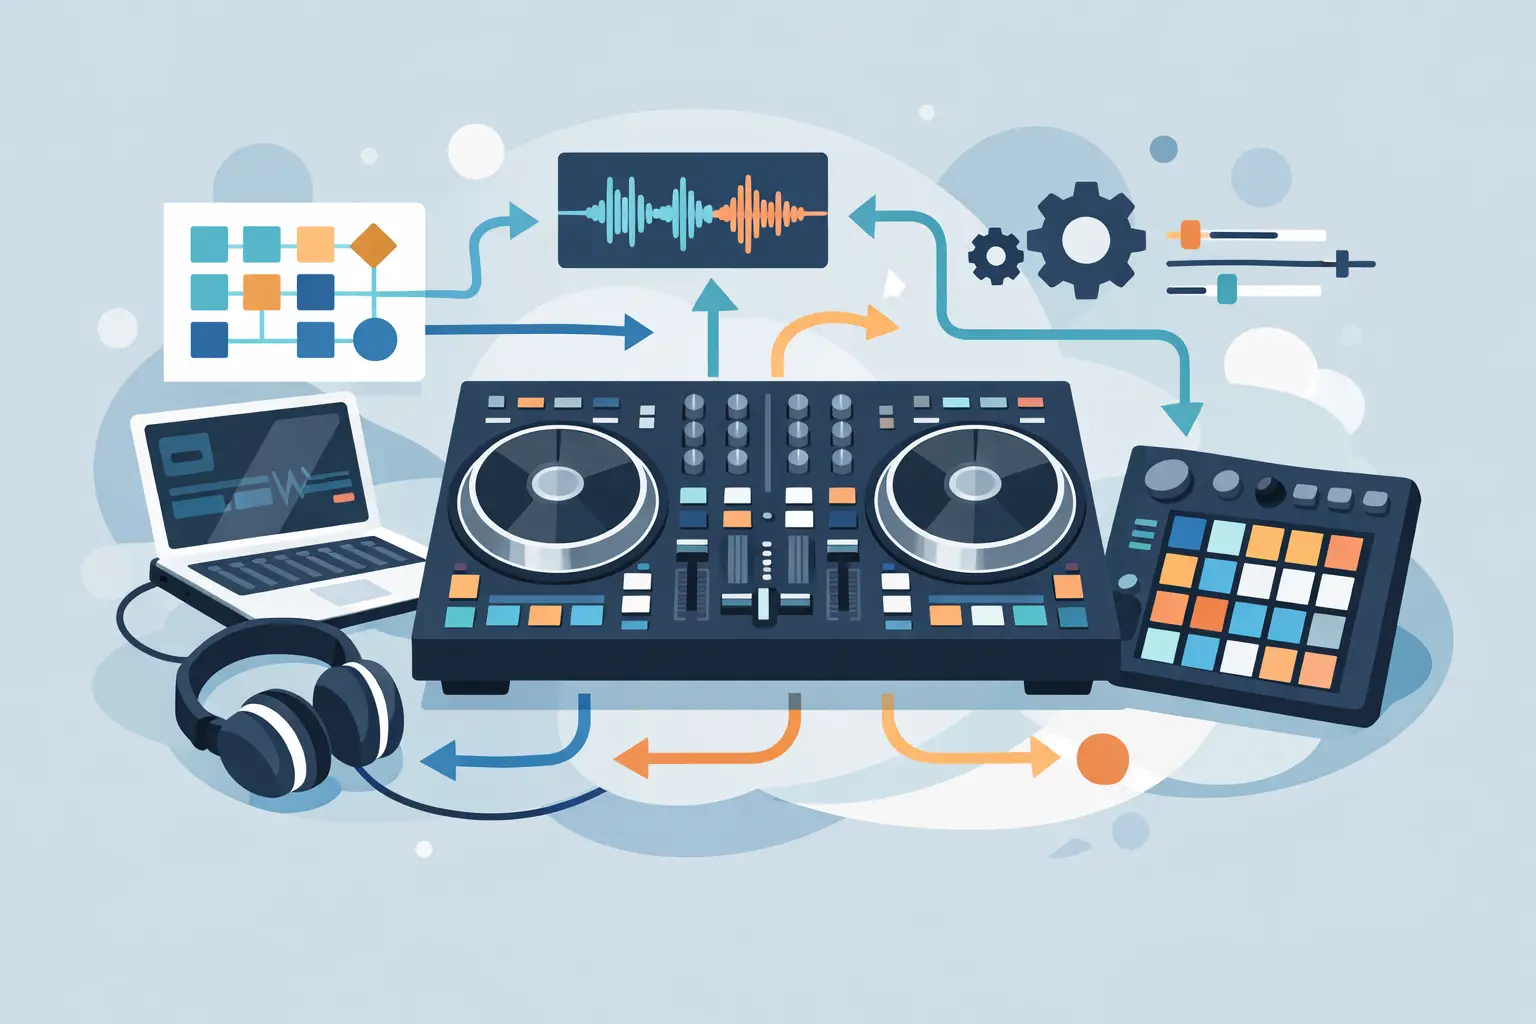
A controller should feel like an extension of your hands, not a compromise you have to work around. This DJ controller mapping guide shows you how to turn every useful knob, pad, button, and fader into a faster path to better transitions, cleaner mixes, and more original live moments.
Controller mapping is not just a fix for unsupported hardware. It is a performance advantage. Whether you are using an entry-level two-channel unit at home, a custom mobile setup, or a multi-deck rig in a club, the right mapping puts the features you actually use where your instincts expect them.
What DJ Controller Mapping Really Does
A DJ controller mapping tells your software what to do when you touch hardware. Pressing Play might start a deck. Turning a knob might control a filter, an effect, stem volume, loop size, browser movement, or a custom combination of actions. The mapping also controls feedback from the software to the controller, including pad colors, button lights, jog displays, and level indicators when the hardware supports them.
Most DJs begin with a factory mapping, and that is often the right place to start. A good default map covers the essentials: transport controls, EQ, gain, pitch, cueing, looping, browsing, and performance pads. But defaults are designed for the average user. Your workflow may depend on instant acapella cuts, video transitions, karaoke controls, four-deck layering, or quick mic management. That is where customization earns its place.
The goal is not to remap everything. The goal is to remove friction from the moves that make your sets yours.
Start With Your Actual Performance Workflow
Before assigning a single command, watch how you DJ for one full session. Notice the moments where your hands leave the controller to reach for the screen, where you hesitate to remember a shortcut, or where a useful feature is buried behind too many actions. Those are your best mapping opportunities.
A mobile DJ may need immediate controls for microphone talkover, sampler banks, automix, and playlist navigation. A scratch DJ may prioritize jog response, slip mode, stem cuts, and cue point access. A video DJ may need effects, video transitions, logo controls, and source selection close at hand. There is no universal “best” mapping because the best controller layout depends on what happens during your show.
Start with high-frequency actions. If you use an effect once per night, it does not deserve your easiest button. If you trigger loops, stems, or hot cues in every transition, those functions should be fast, obvious, and consistent across decks.
Keep Core Controls Predictable
Some controls should rarely change from one controller or setup to another. Play, cue, channel faders, crossfader, EQ, trim, headphone cue, and pitch are muscle-memory territory. Reassigning them can cause mistakes when you are tired, under pressure, or switching between borrowed gear.
Build custom layers around those fundamentals instead. Shift buttons, pad modes, secondary knob functions, and less-used buttons are safer places for creative mapping. This gives you more power without making your basic mixing habits unpredictable.
Map by Performance Zone
Think in physical zones rather than a list of software features. The deck area should handle deck actions. The mixer section should handle sound shaping and mixing. Pads should trigger performance tools. The browser area should manage music selection. This sounds simple, but it prevents layouts that look clever on paper and feel confusing during a live set.
For example, assigning stem controls to performance pads can make sense because stems are often triggered rhythmically. Assigning them to random buttons near the browser may save a pad bank, but it slows down a creative move that needs precision.
Build a DJ Controller Mapping That Performs Under Pressure
The strongest mappings are designed for error prevention as much as creative speed. A button that instantly loads a track onto a playing deck might be technically useful, but it is also a risk. A command that activates a dramatic effect can be exciting, yet it needs a clear way to exit immediately.
Use deliberate choices for actions with consequences. If a control can stop audio, eject a track, reset pitch, change a deck assignment, or alter a live video output, consider assigning it to a shifted function or requiring a hold action. Fast access is valuable, but accidental access is expensive.
VirtualDJ gives DJs the flexibility to customize supported controller behavior around the way they perform, from simple reassignment to deeper scripted actions. That range matters because a beginner may only need a button moved, while a working professional may want one control to trigger a loop, activate an effect, and set a precise parameter value at the same time.
Make Shift Layers Easy to Remember
A shift layer can effectively double the number of available controls, but only if it follows a pattern. Shift plus a hot cue pad could access a saved loop. Shift plus an effect button could access a second effect bank. Shift plus browse could jump between folders and playlists. The relationship should feel logical enough that you can recall it without looking down.
Avoid putting unrelated commands on shifted versions of familiar buttons. Shift plus Play should not suddenly control a video setting unless your entire workflow is video-focused and the labeling makes that choice clear. Consistency beats novelty when the room is full and the next transition is eight beats away.
Use Color and Feedback as Part of the Map
When your controller has RGB pads or illuminated buttons, visual feedback is part of the performance language. Use consistent colors for similar functions: one color for hot cues, another for loops, another for samples or stems. Make active states visually distinct from available states.
The same principle applies to LEDs. If an effect is active, the hardware should make that obvious. If a pad mode has changed, you should know before pressing a pad. Good feedback reduces screen dependence and lets you keep your attention on the crowd, the music, and the next move.
Test Every Mapping Before a Gig
A mapping is only finished when it survives real-world testing. Do not make major changes for the first time in front of an audience. Test with headphones, then test through the same speakers, mixer, or audio interface you will use at the event. Check both what the controller sends to the software and what the software sends back to the controller.
Run through the kinds of moments that cause problems: loading tracks quickly, switching decks, using a loop during a transition, changing pad modes, activating effects, browsing a large library, and reconnecting the controller after a restart. If you use external displays, microphones, video outputs, or wireless remotes, test those too.
Pay attention to latency and conflicts. A mapping can be logically perfect but still feel wrong if a pad response is delayed, a knob has an overly sensitive range, or two commands fight over the same control. MIDI messages, controller firmware, operating system settings, and software updates can all affect behavior. When something acts unpredictably, simplify the mapping first and add complexity back one feature at a time.
Common Mapping Mistakes That Hurt Live Sets
The first mistake is mapping features because they exist, not because you use them. A controller full of clever functions can become harder to operate than a simple stock layout. Every assignment should solve a recurring performance need.
The second is changing too much at once. Make one meaningful adjustment, practice it until it becomes automatic, then move to the next. This protects your muscle memory and makes troubleshooting far easier.
The third is ignoring backup behavior. Know what happens if your custom mapping does not load, the controller is replaced, or you need to use a venue’s setup. Keep your fundamentals familiar enough that you can still deliver a confident set with a standard layout.
Finally, do not treat your map as permanent. Your technique changes as your music, gear, and ambitions change. Review it after gigs. Which controls did you reach for? Which ones never got touched? Which moment would have been better with one action closer to your fingertips?
Turn Hardware Into Your Creative Advantage
A great controller mapping does not make you a better DJ by itself. Practice, track selection, timing, and crowd awareness still decide the night. What it can do is remove the gap between an idea and the moment you execute it.
Start small: improve one transition you perform every set, one creative tool you want to use more often, and one safeguard that prevents a costly mistake. Then give the new layout enough repetition to become instinct. When your controller responds exactly the way you think, you spend less time operating software and more time making the room move.