


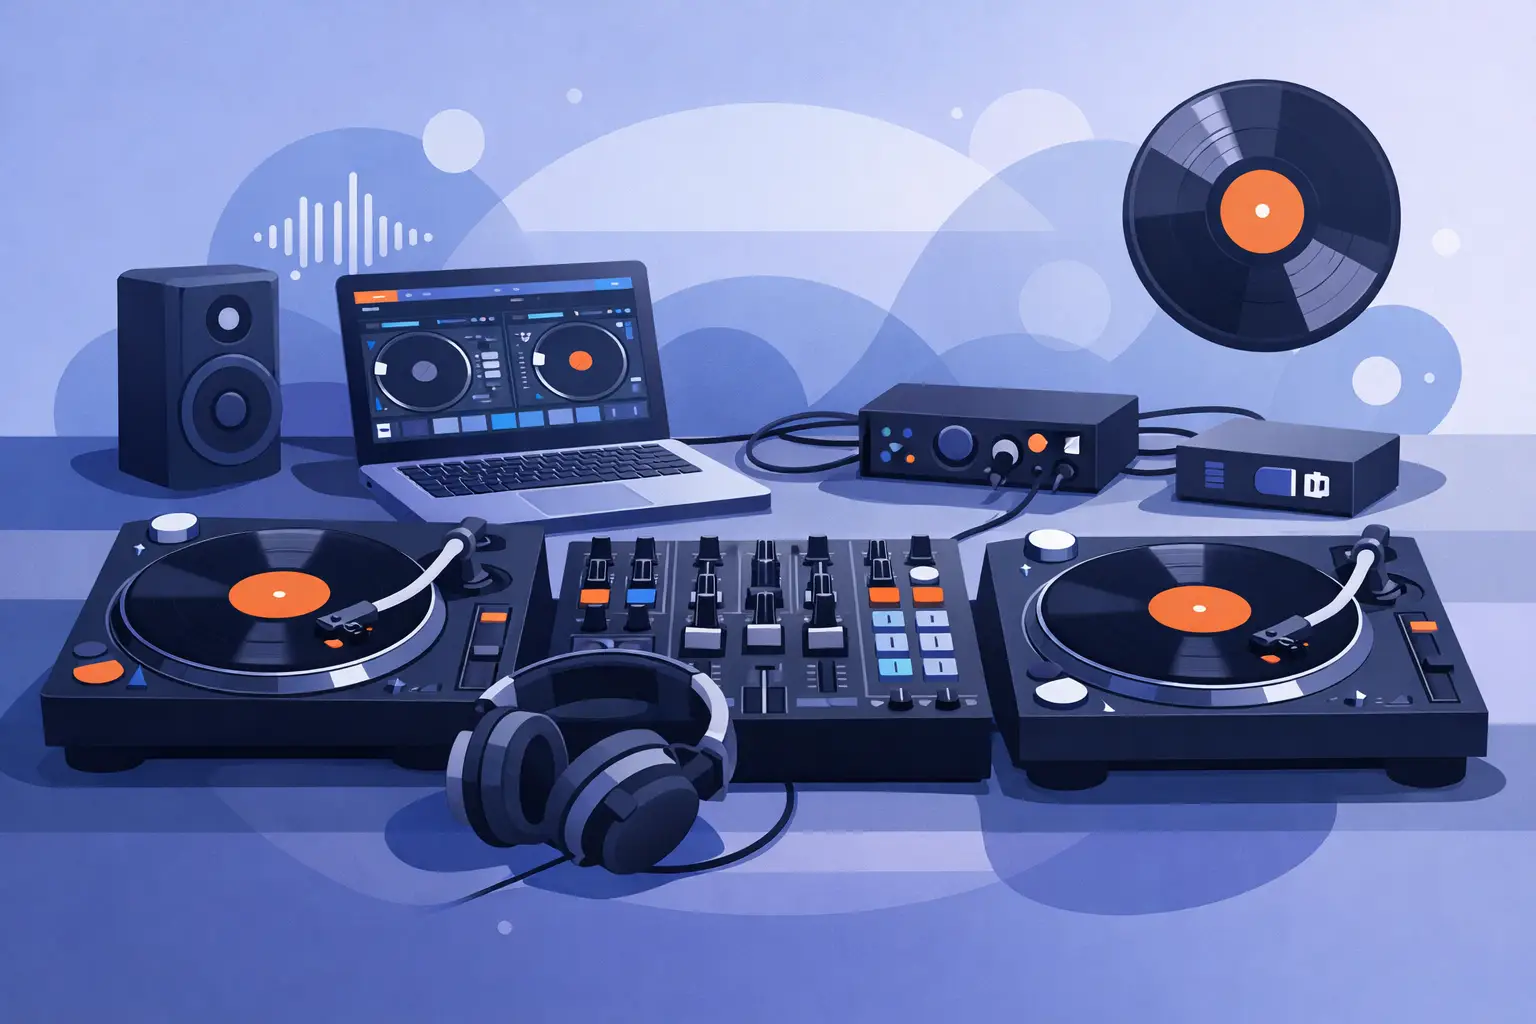
A great digital vinyl setup guide starts with one truth: your decks should feel invisible. When you drop the needle, cue a record, or cut across the crossfader, the response needs to be immediate enough that your attention stays on the crowd and the music - not the screen, cables, or control signal.
Digital Vinyl Systems, commonly called DVS, bring the physical control of turntables or media players into a digital music library. You get the feel of vinyl, the freedom to carry more music, and access to modern performance tools without giving up the instincts that make DJing exciting. Build it correctly, and you can move from a bedroom practice session to a club booth or mobile event with confidence.
What You Need for a Digital Vinyl Setup
At its core, a DVS system needs four things: compatible turntables or CDJ-style media players, timecode vinyl or timecode CDs, a supported audio interface or DVS-ready mixer, and DJ software that recognizes the hardware. Your music files live on the computer. The timecode disc sends a control signal into the software, telling it exactly where to play, pause, scratch, and pitch-bend the digital track.
The strongest setup is not necessarily the most expensive one. It is the one with clean signal flow, stable drivers, and controls that match how you perform. A scratch DJ may prioritize low-latency response and a sharp crossfader. A wedding DJ may value dependable playback, microphone routing, and quick access to a deep music library. A club DJ might need a compact interface that works with unfamiliar booth mixers.
Before buying or connecting anything, confirm compatibility. Some mixers include certified DVS audio interfaces, while others require an external interface. Some controllers offer DVS expansion, and some older turntables may need fresh cartridges or ground-wire attention before they are ready for serious use.
Choose Your Control Hardware
Traditional direct-drive turntables remain the standard for hands-on vinyl control. They provide the torque and platter stability needed for cueing, beatmatching, and scratching. If you are using used decks, inspect the tonearm, pitch fader, RCA cables, and ground wire. A worn stylus can create a weak or unstable timecode signal long before it becomes obvious during a set.
Timecode CDs are a practical alternative for DJs who prefer media players. They are compact, fast to load, and useful in booths where turntables are unavailable. The workflow is different, but the idea is the same: the disc controls the position of the digital deck in your software.
Your mixer matters just as much. A mixer with built-in DVS support can reduce cable clutter and setup time. An external audio interface gives you flexibility when you need to work with different analog mixers, but it adds another device, more cables, and another point to check before showtime. Neither approach is automatically better. Choose the one that fits your typical gigs.
Digital Vinyl Setup Guide: Connect the Signal Path
The signal path is simple once you see the full chain. The turntable sends timecode into an input. The software interprets that signal. The software sends your music back through separate outputs. Those outputs feed the mixer channels, where you control EQ, gain, faders, and the master output.
Start with the turntables or media players powered off. Connect each deck's RCA cables to the correct input on the interface or DVS mixer. Connect the ground wires to the mixer or interface grounding post if your turntables use them. That small wire prevents the low hum that can ruin an otherwise clean sound system.
Next, connect the interface or mixer to your computer using a reliable USB cable. Avoid loose adapters, damaged cables, and overloaded USB hubs. For a professional gig, direct connections are the safer choice. Then route the interface outputs to the appropriate channels on your mixer. Deck 1 should return to channel 1, and deck 2 should return to channel 2. It sounds obvious, but crossed channels are one of the most common first-time setup mistakes.
Set each mixer channel to the correct input source. If your mixer has a phono/line switch, use phono for standard turntable cartridges unless your specific hardware documentation says otherwise. Using the wrong setting can make the signal too quiet, distorted, or impossible for the software to read accurately.
Finally, place the timecode vinyl or CD on each deck and open your software. VirtualDJ supports an extensive range of DVS hardware and puts real-time tools such as stems, effects, video, and live remix controls within reach once your control signal is ready.
Calibrate Before You Trust It
Calibration is where a collection of gear becomes a performance system. Open the DVS or timecode settings in your software and play the timecode disc. You should see a clear, stable signal display for each deck. A clean circular scope or high signal-quality reading usually indicates that the cartridge, cable, input, and software are communicating correctly.
If the signal looks broken, uneven, or noisy, do not try to DJ through it. Work backward. Check that the needle is clean and seated correctly, confirm the RCA plugs are fully connected, inspect the ground wire, and make sure the input mode is correct. On CD players, clean the disc and test another player or cable if necessary.
Set the software latency low enough to feel responsive, but not so low that the audio crackles or drops out. Faster computers can often run lower latency settings. Older laptops, large video workloads, and background applications may need a slightly larger buffer. The right number is the lowest stable setting, not the most aggressive one on the menu.
Test both absolute and relative playback modes. Absolute mode behaves like physical vinyl: needle position, stops, and needle drops affect playback. Relative mode ignores the needle's exact location and gives you more freedom to use loops, hot cues, and other digital performance features. Absolute mode feels authentic for classic mixing. Relative mode is often more forgiving in loud booths, busy events, or creative sets built around cue points.
Make Your Laptop Performance-Ready
DVS puts your laptop inside the audio chain, so prepare it like any other piece of live gear. Update your DJ software and audio drivers well before the event, not in the parking lot. Restart the computer before the set. Close cloud-sync apps, browsers, games, and anything else that might suddenly demand processing power or an internet connection.
Keep your music organized locally and make sure files are analyzed before you perform. Beatgrids, cue points, stems, and waveform data are far more useful when they are prepared ahead of time. Streaming can expand your options when a connection is dependable, but locally stored music remains the safer foundation for high-stakes gigs.
Bring backups that solve real problems. A spare USB cable, replacement needles, extra RCA cables, a small power strip, and headphones can save a set. If you play events regularly, keep a backup music drive and a fallback playback option. The goal is not to carry every accessory imaginable. It is to avoid losing a performance because of one inexpensive failure.
Test Like You Are Already on Stage
Do not stop at seeing two moving waveforms. Perform a real test mix. Cue in headphones, move the pitch fader, scratch lightly, use the crossfader, engage a loop, trigger a cue point, and load tracks rapidly. Listen for digital clicks, signal hum, channel imbalance, and delay between your hand movement and the sound.
Then test the details that matter at a gig. Can you switch from internal playback to timecode control without confusion? Is the microphone level clean? Are your master and booth outputs routed correctly? If you use stems or video, can your computer run them without affecting audio stability? A setup that works for basic two-deck mixing may need adjustment when you add demanding performance features.
Give yourself time to learn the feel of the system. Timecode does not remove the craft of DJing. It gives that craft more range. You still need phrasing, track selection, gain control, and the awareness to know when a crowd wants a clean transition instead of another trick.
Your best DVS setup is the one you can connect quickly, troubleshoot calmly, and trust when the room is full. Build that confidence at home, then let the decks do what they were made to do: turn your music library into a live performance people remember.